How to: SSD in macbook pro 2012
Why get an SSD?
After 4 years of serious use. From playing Borderlands 2 with the fan at full speed to running docker VMs, my MacBook Pro 2012 has seen some heavy use and become pretty slow, even with the full 8gb of ram. The growing read and write times made it almost unusable. SSD to the rescue!
Picking the SSD
Knowing that Samsung makes good hard drives I looked on amazon and I found this
At $150 and 5 stars its a winner.
I also added http://www.amazon.com/gp/product/B00OJ3UJ2S/ref=as_li_tl?ie=UTF8&camp=1789&creative=9325&creativeASIN=B00OJ3UJ2S&linkCode=as2&tag=fromtheblocks-20&linkId=GCGW7X4GMS7PPSUD to use as an enclosure for the old 750gb.
Step 0 – Tools
You’ll need the following:
- The SSD – duh
- A hard drive enclosure
- A #6 torx driver
- A small Phillips screwdriver
- Compressed air (optional)
- A spudger (optional)
Step 1 – Installing OS X (10.11 el capitan) onto the SSD
First – open disk utility to erase the SSD and partition it with a “GUID partition table”. You might as well rename the drive while you’re at it.
In order for the drive to be useful once it’s installed you’ll need to have a bootable operating system. To do this, plug the SSD into the enclosure’s SATA port and plug the USB cable into your computer.
Note – A lot of posts online say you can install OS X to the SSD by booting when holding down the option key, that didn’t work for me with this SSD and OS X 10.11, so we’re going another route.
You will have to download the OS X installer by searching “El Capitan Install” in the App Store.
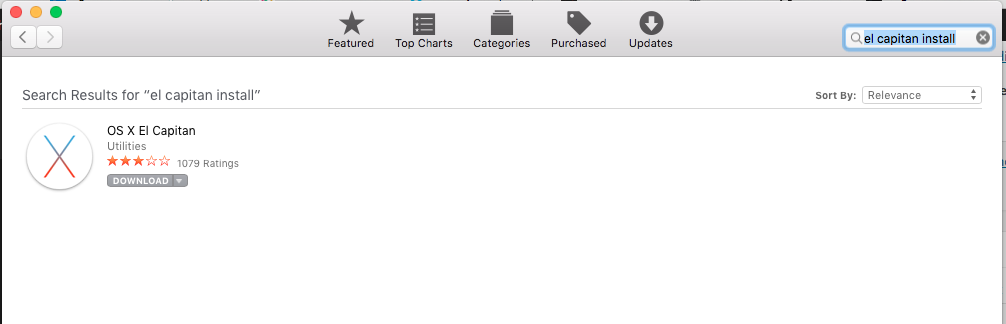
Download it then run the El Capitan installer. After agreeing to the Terms of Service press “show all disks” and choose your SSD.
Step 2 – Disassembling the MacBook Pro
Turn off your Macbook, close the screen, and turn it upside down. Take your Phillips head screwdriver and unscrew the screws on the bottom around the periphery. Keep track of where each screw came from – even the ones that appear to be the same length have different lengths of threading on them and aren’t interchangeable.
After removing the cover you should see this:
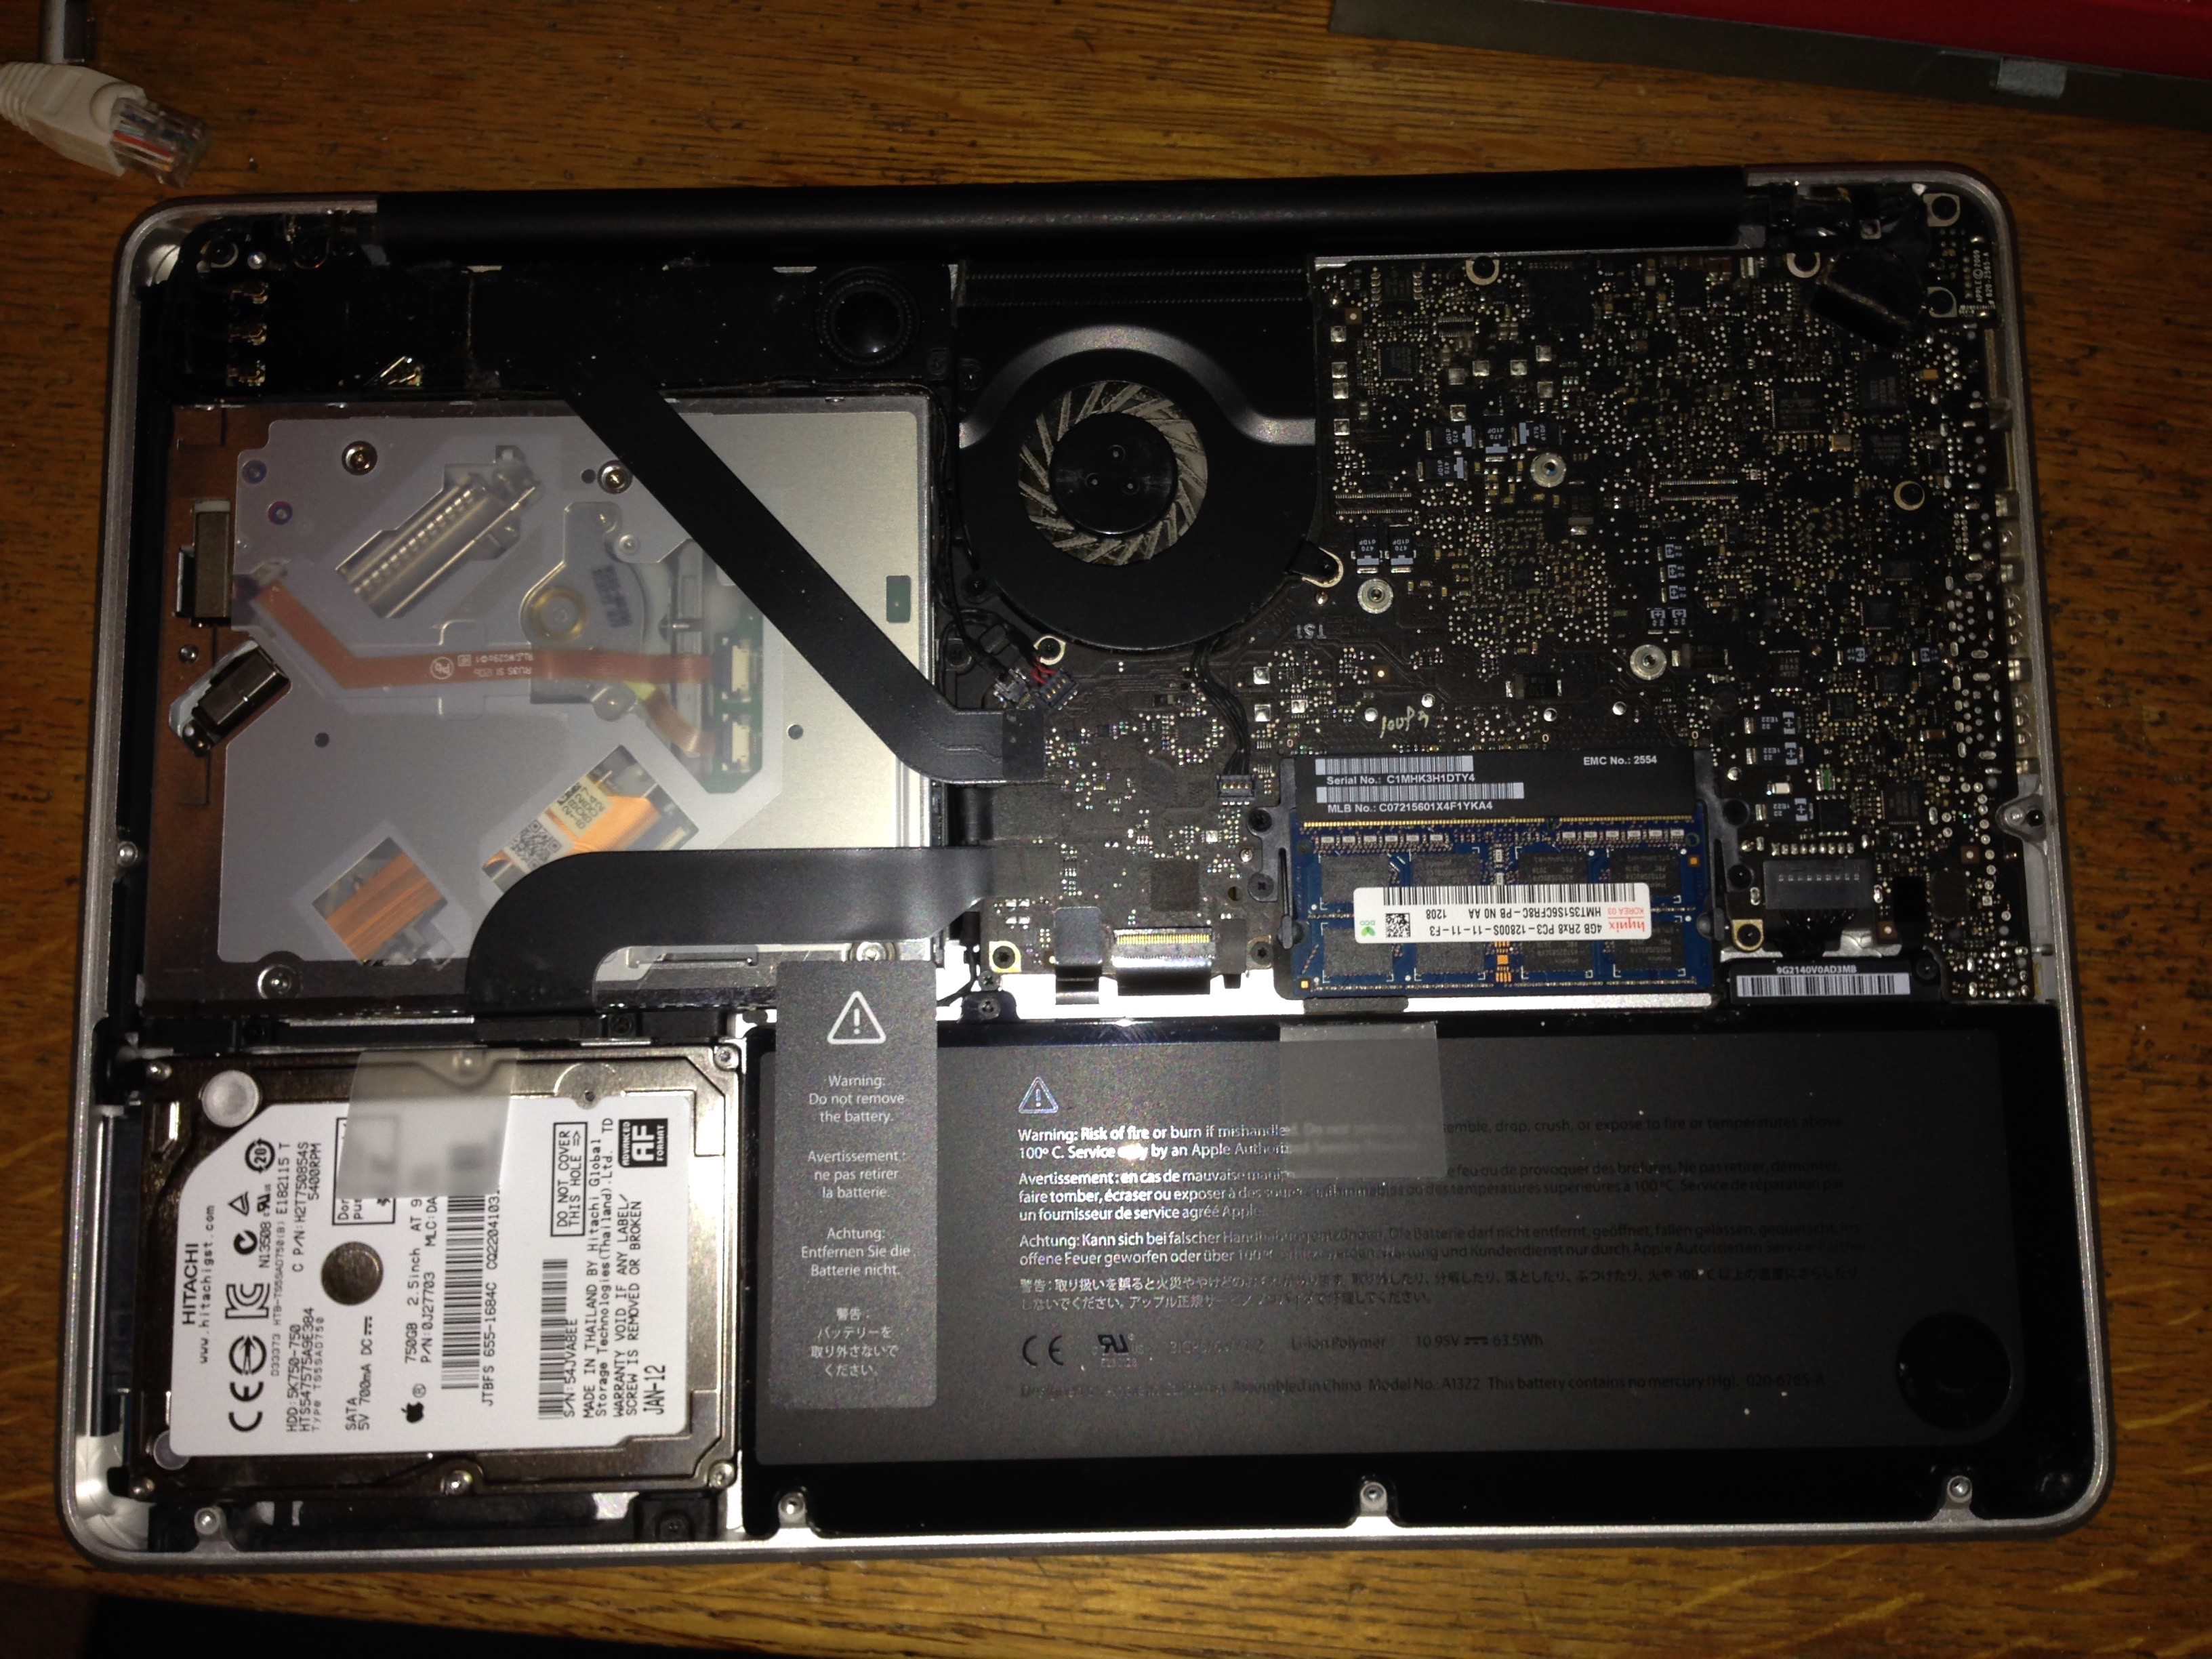
The hard drive that we’re going to remove is located at the bottom left of this picture. But first, get a can of dust-off and spray away all that nasty dust that accumulated on the fan and all over the motherboard.
Step 3 – Removing the Hard Drive
To remove the hard drive, locate the two black brackets holding it in place. Unscrew the four screws on these brackets then remove the brackets and pull up on the clear plastic tab sticking out from the side of the hard drive.
Once the hard drive is loose you’ll need to disconnect the SATA cable connecting the hard drive to the computer. These cables are fragile so be very gentle and make sure to pull the connector, not the cable.
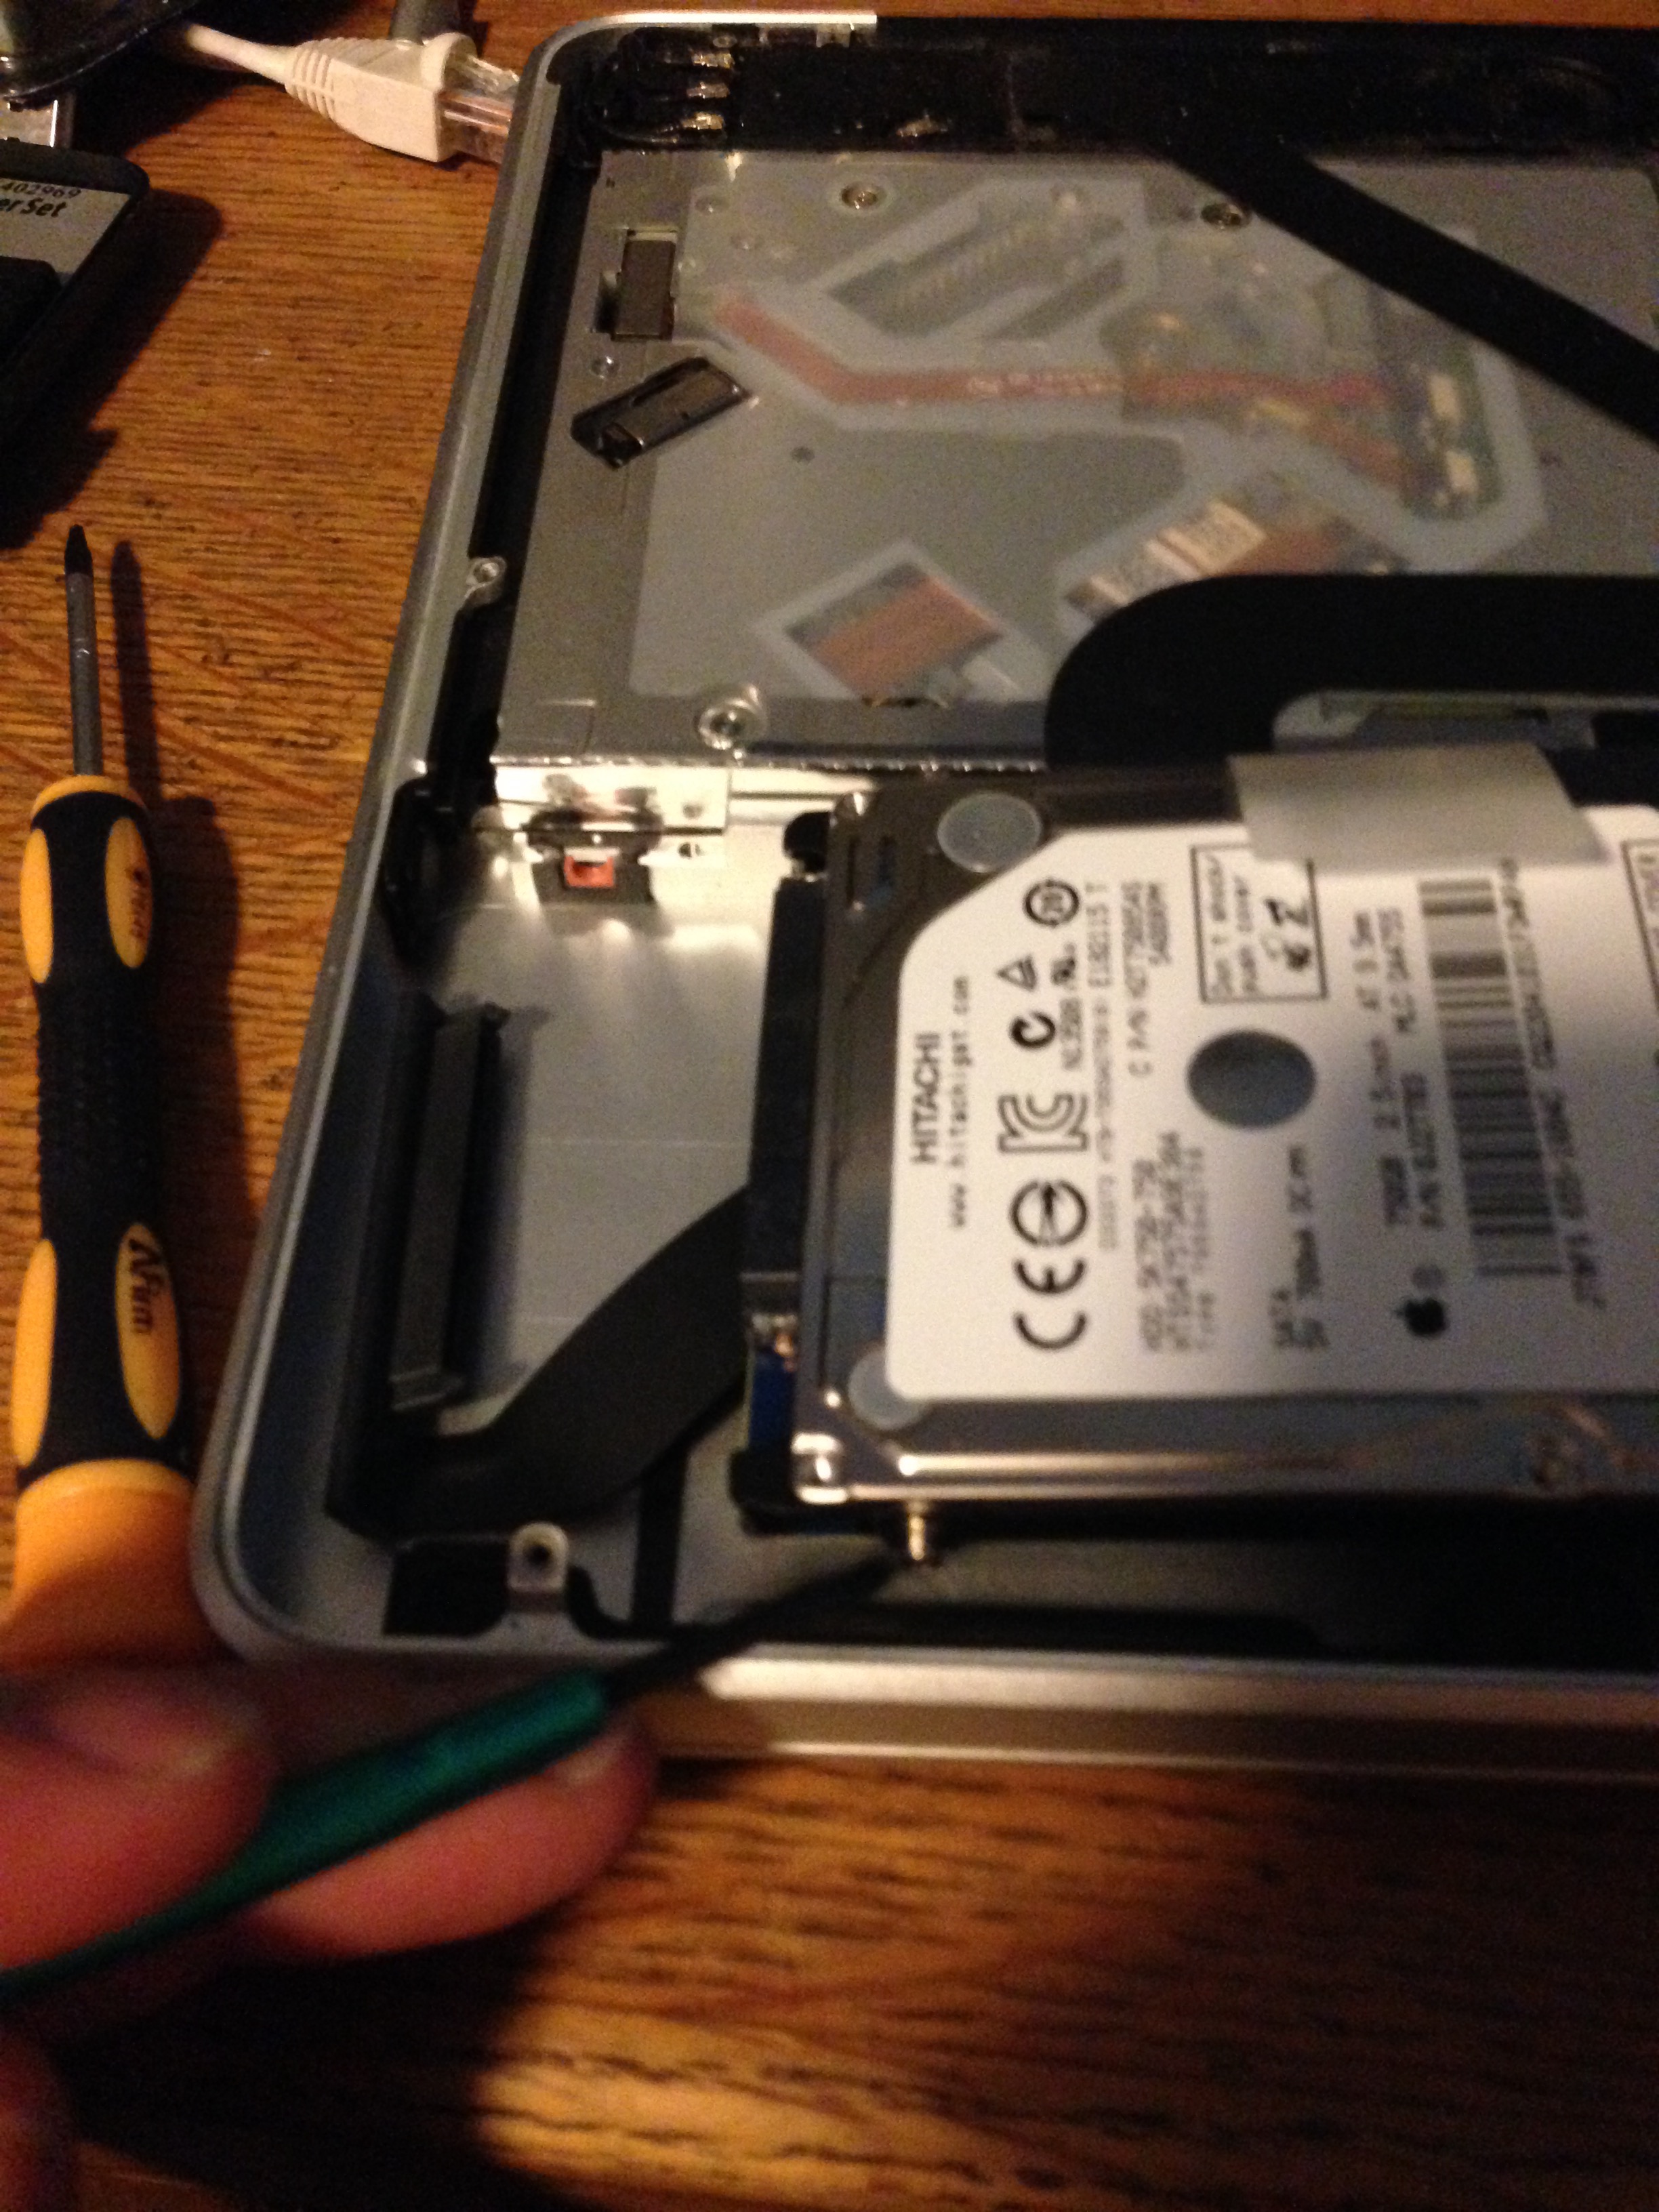
Once separated, remove the silver pegs from the sides of the hard drive using your Torx driver and install them onto your SSD.
In this picture, I point out one of the silver pegs.
Now, connect the SSD and the SATA cable then reassemble in reverse order. If you care to keep your data from the old drive you can plug the old drive into your SATA to USB cable or install it in an enclosure.
When booting, you can use migration assistant or time machine to keep your old data.
Performance
The speed is fantastic. Read and write speed increased by 850%. The computer boots up in ~10 seconds and opens apps instantly.
Don’t believe me? Here’s the first with the old hard drive (17.7 seconds):

And with the solid state (2 seconds):

Hope you find this helpful.
No comments yet.